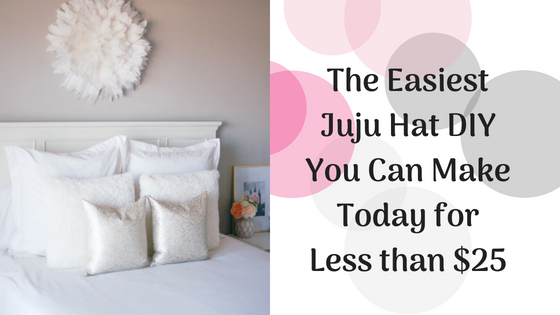
Have you heard of African Juju hats? Don’t worry if you haven’t. Jessica from LOVELOVELOVEBLOG shares an easy Juju hat DIY to explain all about these beautiful wall decor pieces and how you can make them.
Be sure to check out the original post here.
The Juju Hat is originally from Cameroon, where it’s called the Bamileke or Tyn hat. For hundreds of years the Bamileke tribes have been creating these hats for their tribal chiefs, royal families and dignitaries to wear during tribal ceremonies. The hats are significant when an elder dies as it is passed down to the next in line who may inherit the wealth and standing of the person that has died. Juju hats are also worn during festivities and ceremonial dances.
These hat can be bought from home decor retailers for as little as $80 to as much as $300! Even more if you want a set! Jessica decided that she would figure out on her own how to complete a Juju hat DIY.
Luckily, she found a really easy tutorial over on A Beautiful Mess. They made those gorgeous pink feather Juju hats. She loved following their tutorial, but but decided to tweak the process along the way and wanted to share her results! So let’s get started:

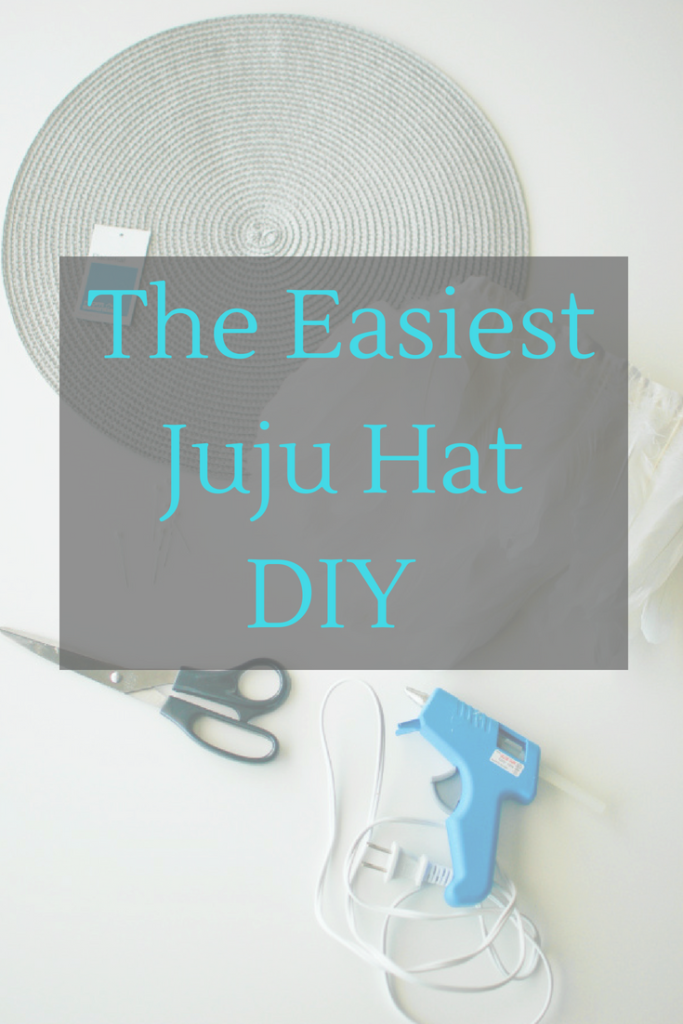
Juju Hat Materials
Cost: $25
2.25 yards of feather trim
Place mat
Scissors
Thread
Straight pins
Sewing Machine
Glue gun
Juju Hat DIY Tutorial
Time: 1 hour
- First, you’ll want to pin the feather trim around the outer edge of the place mat. Put them about every 1.5″ or so. It doesn’t have to be exact. Once you’ve pinned the first section, you want to overlap the beginning of the circle about an 1″ of trim and cut the rest of the trim off.
- Next, put the place mat in your sewing machine and stitch the trim to the place mat.
- Repeat this process with another layer of feather trim.
- For the third and fourth layer, flip the trim so the feathers are facing the wrong way. This will add some dimension to the Juju hat.
- For the fifth layer, face the trim to the right way and pin and stitch it to the place mat.
- From here on out I used the hot glue. Pin two more circles of feather trim to the center so the entire place mat was covered.
- Finishing the Juju hat was a little tricky. Make a circle of trim and glued it standing straight up instead of laying it flush against the place mat like I had previously. Add in a few random feathers as needed until you are happy with the final result!
- You may have to do some additional gluing to get everything placed how you want it. Also you may have to trim down some of the middle feathers so they wouldn’t be sticking out so far. You can add a hanger on the back. Jessica used a seam ripper and tied some string in a knot. Then she hot glued it back together.

Meet the Author

Jessica writes for Love Love Love Blog where she shares about style, motherhood, and living affordably. If you want inspiration on what to wear, beauty, saving money, eating healthy and taking care of children, you want to check out her blog. You can also follow her on social media via: