
Whether you are installing concrete walls or flooring, moisture can be an issue that is not initially evident. However, if left unchecked, moist structures can create more issues, some of which are severe enough to require remediation and repair.
This is a contributed post and does not necessarily reflect the opinions of Meet The Harris Family.
A detailed moisture mitigation plan integrated into the project prevents such problems. Apart from equipping your team with ASTM F3010 and other moisture barriers, it pays to strategize against moisture to ensure client satisfaction for every project.
How Does Moisture Occur?
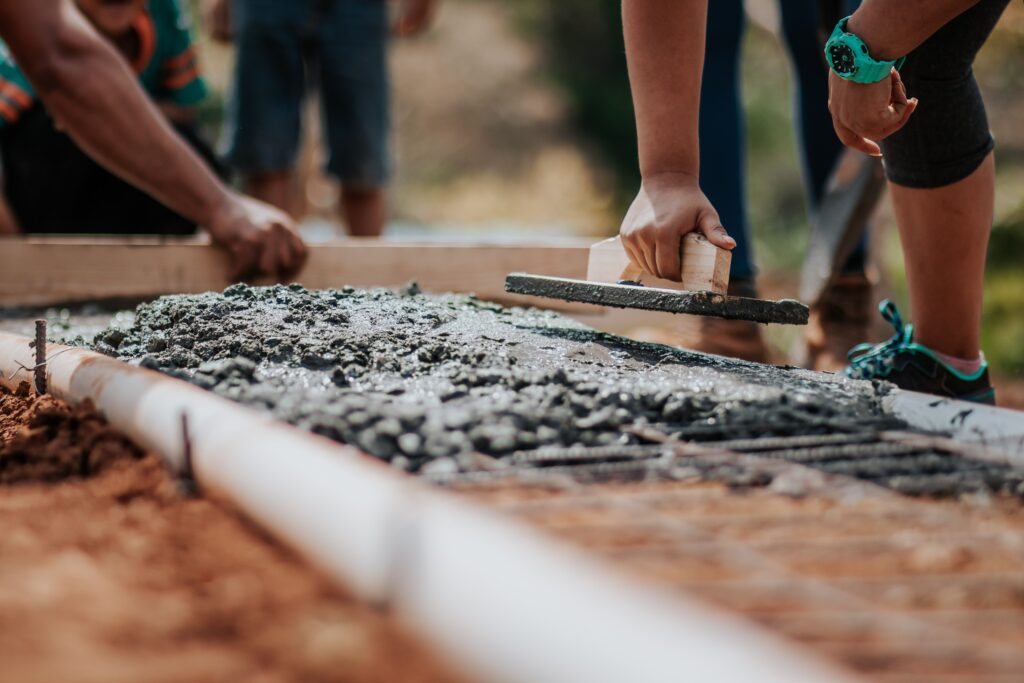
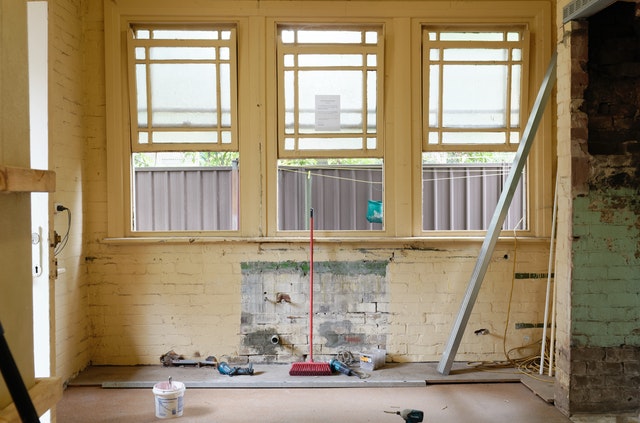
When installing concrete flooring on construction sites, moisture often occurs in slabs that are improperly cured. This is often the result of unpredictable weather conditions or rushed projects following strict deadlines. Renovations in existing buildings can also cause moisture problems, as well as the physical condition of the slabs.
Moisture mitigation prevents moisture from compromising the quality of your structure. This process tests the slab for its water content. Locations that use the same slab should be tested for moisture to ensure the flooring adhesive will stick well.
Most experts recommend allowing the concrete slab to cure, but conducting moisture testing and installing a moisture barrier, doing these additional two tasks ensures you won’t have flooring issues in the future.
What are the Signs of Moisture as an Issue?
If moisture issue is not part of your design plan, signs of moisture issues will eventually manifest in your build. Common indicators of moisture include:
- Bubbling
- Cracks
- Discoloration
- Joint swelling
- Blistering
- Adhesive problems
- Gaps
- Scaling
- Crazing
- Delamination Failure
- Swollen joints
- Scaling
- Pop-outs
- Efflorescence
Another issue is mold and mildew growth. Mold creates foul orders, compromises the fixtures and triggers allergies in certain individuals. Also, it can exacerbate healthy respiratory systems with symptoms such as coughing, congestion, runny nose and sneezing.
Instead of dealing with severe problems concerning the fixture and your health, have a moisture mitigation strategy in place.
What is the Significance of Moisture Mitigation?
What roles does moisture mitigation play in your construction? Most of the time, moisture mitigation is applied to concrete walls, but it is mainly used on concrete floor systems.
- Masonry and concrete walls. Moisture mitigation is essential for areas that have high humidity. If you live or work within a region that experiences frequent hurricanes or rainstorms, know that moisture easily seeps into concrete or masonry walls, especially if they have been improperly sealed or constructed. Some primary issues that occur from these weather conditions are the invasion of mildew, mold and bacteria. Whether you are building a new structure or renovating an existing one, make sure that the exterior walls are covered with durable moisture-resistant coatings.
- Most construction problems arise during the beginning of the project. Improper laying of floor systems and foundations can create severe problems in the future. One of the most significant issues concerning flooring systems is the time constraints faced by the construction crew. When they fail to cure the slab or skip critical steps due to deadlines, the surface’s quality will diminish over time. Instead of dealing with problematic flooring in the future, conduct two tests to determine the moisture within the slabs. These are the Relative Humidity test (RH) and Calcium Chloride Test.
Once the curing is complete, spread a PH blocker coating over the slabs to prevent moisture. Even if the slab is made from concrete, it still has a certain amount of moisture. So, always apply the coating to prevent moist flooring in the future.
Best Practices for Moisture Mitigation
- Plan. Plan before the installation schedule. Before you go full-steam ahead with your construction, apply the moisture mitigation membrane according to the manufacturer’s instructions. Also, set enough time for curing. Make sure the membrane is properly installed before placing the floor coverings.
- Follow the manufacturer’s instructions. Take the time to read the application instructions. The manufacturers of the adhesives and floorings always provide instructions on substrate conditions, so follow their recommendations. Also, be clear on the levels of moisture the adhesive and floor can tolerate. Learn what testing methods the manufacturer recommends when it comes to measuring moisture levels.
- Look for the best warranty. Protect yourself and your clients, look for products that offer the best warranties.
- Maintain accurate and photographic records. Always keep record of everything you do on the job site. Take photos of the site’s conditions and track all of your moisture testing results. If you have concerns or questions, get in touch with another expert and show the photos.
Moisture mitigation is a necessary part of any construction project, especially if you’re dealing with concrete walls and flooring. Before you purchase galvanized sheet metal and moisture barriers, always integrate moisture mitigation in your strategy.